"HTML5 e CSS3 - Módulo 2"
Images
"Curso em Vídeo"
This is the student's notebook of Ricardo Barros Becheli


"Curso em Vídeo"
This is the student's notebook of Ricardo Barros Becheli


<!DOCTYPE html>TitleHTML Semantic ElementsHead, header and headingParagraphFormatingEntitiesEmojisImagesFaviconMark the textHow to display codeQuotationsListsLinksResponsive imagesAudioVideoPlease, always be sure that you are not violating copyrights when pasting images made by someone else into your website.
There are royalty free images around the web, like:
Or
Or many others.
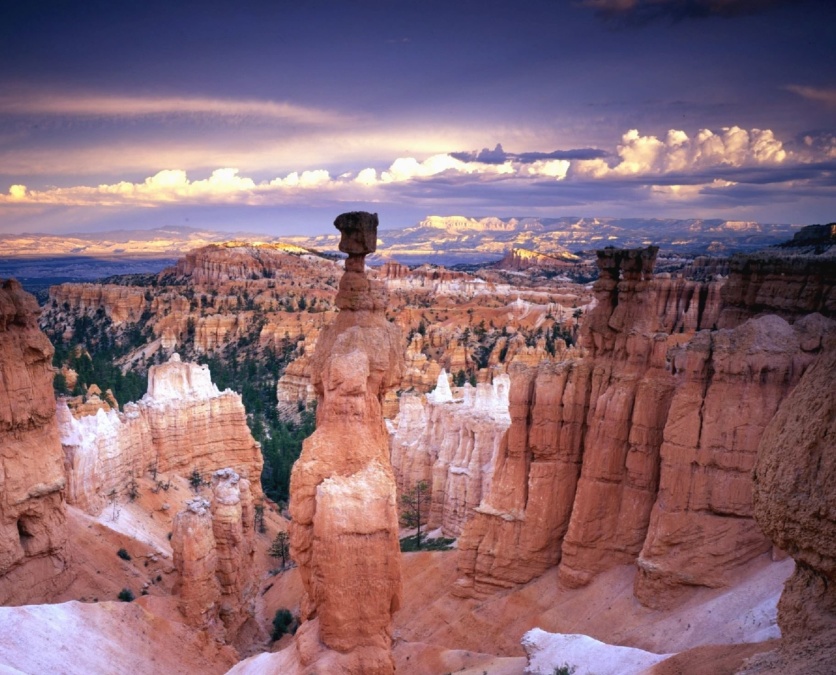
This canyon image is from Pixnio. Very easy. You don't even have to register in their website. And you have size options. You can even chose a personalized one with the width or height of your preference.

First, download the image to your "images" folder within your HTML project.
(If you're a beginner like me, going through Visual Studio Code tutorials is not a bad idea)
Then, in the VSCode editor: just type img and Emmet, the automatic assistant, will write the rest for you. After it's done, place the cursor in between the first pair of quotation marks (src="") of the "img" tag, press ctrl+spacebar and chose your image from your folder on the dialogue box.
The second pair of quotation marks (alt="") of the "img" tag are for you to write a quick description of the picture. It serves to appear in the screen in case the image doesn't load for any reason AND to be read out loud for those who wish the browser to do that.
Copying an image address from another website is an alternative way of adding an image to your page.
The disadvantage is that the image in your page will always depend on the existence of the original one and more: it must be exactly where it was when you copied the eddress. If their website crashes, your linked image crashes. If they change anything in the addres, the link is gone and so does the image.
Just right click any image of any website and choose "copy image address" (or whatever is closer to that). Then, paste it between the first pair of quotation marks (src="") of the "img" tag.
Again: The second pair of quotation marks (alt="") of the "img" tag are for you to write a quick description of the picture. It serves to appear in the screen in case the image doesn't load for any reason AND to be read out loud for those who wish the browser to do that.
This is an example (linked from G1.com):
/i.s3.glbimg.com/v1/AUTH_59edd422c0c84a879bd37670ae4f538a/internal_photos/bs/2022/8/c/wBz1OySaygj4v3cLRJTw/0102-cadeira-escritorio-ergonomia.jpg)
In a few words:
JPG (or JPEG) Is better if you want a big image with less weight, like this one:

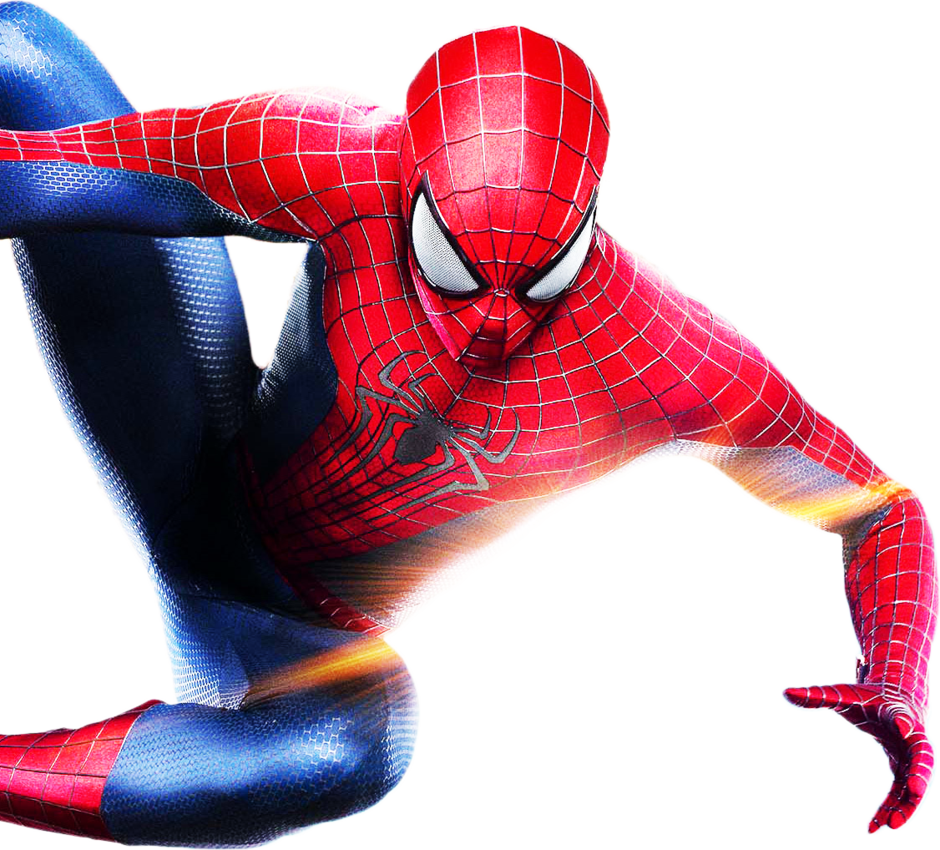
PNG images are better if you want the picture itself to have a transparent background (and no picture frame), like these ones (which I'll fit in a flexbox or a grid in due time):


Images from pngwing.com .
If you want to optimize the image, you can use GIMP freeware (the "free photoshop") to "save for web" (a plugin) and automatically reduce a lot of the image's weight without loosing much quality.